Table of Contents
Advertisement
Quick Links
Download this manual
See also:
User Manual
Advertisement
Table of Contents

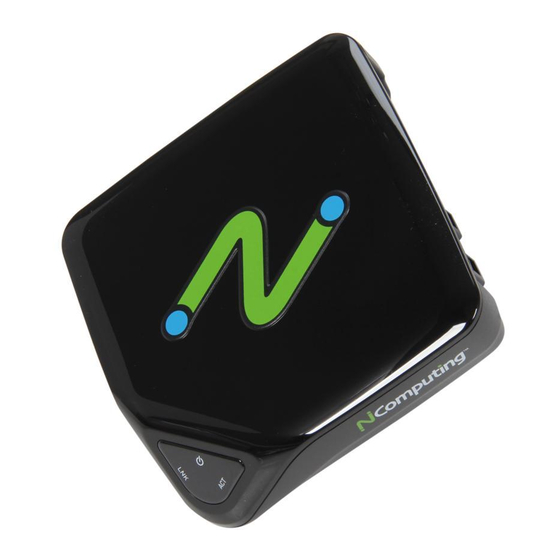
Summary of Contents for NComputing L300
- Page 1 NComputing L300 Virtual Desktop Evaluation Guide...
- Page 2 ©Copyright 2003-2010 NComputing, Inc. All rights reserved. NComputing, vSpace, and UXP are the property of NComputing. Other trademarks and trade names are the property of their respective owners. Specifications subject to change without notice. Performance may vary, depending on the configuration of the shared computer.
-
Page 3: Table Of Contents
Clients Utilize NComputing’s Own NUMO System-on-Chip ....... . . 5... -
Page 4: Ncomputing Corporate Overview
NComputing Delivers Highest User Density per Dollar A core goal of the NComputing solution is to provide virtual desktops to as many users as possible with a minimum amount of hardware and software. Said another way, NComputing focuses on providing the highest user density at the lowest cost per seat. -
Page 5: Selective Virtualization At The Server
NComputing utilizes a single protocol to optimize the user experience plus cost / benefits to the business such as better network utilization. Most protocols need to either be integrated with a 3rd party solution at the client side or server side with API add-ons to achieve what NComputing does in a single protocol. -
Page 6: Deployment Use Cases
In the following examples, we provide a step-by-step guide on how to transform a single PC in to three PCs (one host PC and two virtual desktops). We will review the L300 being deployed from a single host to a single host and virtual desktop and then to a single host and two virtual desktops. -
Page 7: Installing The Ncomputing L300 Vspace Host
NComputing L300 Virtual Desktop Evaluation Guide Installing the NComputing L300 vSpace Host Installing the L300 Virtual Desktop is quick and easy. The following steps will guide you through the installation: Step 1: Download the latest version of our vSpace software from the NComputing Software Download Center. - Page 8 When you are finished, click on the “Next” button. Step 10: You are now ready to install NComputing vSpace on your host. Click “Install” and the installation with begin.
- Page 9 Upon restart, you will need to register the vSpace software. This can be done by going to the NComputing program folder under the Windows Start Menu (Start > All Programs > NComputing > vSpace Registration).
-
Page 10: Set-Up End User Devices
Next, you need to install the monitor, keyboard and mouse and other devices/peripherals to the extra USB ports of the L300 device. The L300 must be connected to the host PC via an Ethernet switch, router, or other network connection. -
Page 11: Establishing A Network Connection
(primary and alternate) information. Click “OK” to save changes and return to the Server Selection screen. When your L300 device is connected to the network the “LNK” light (indicating Ethernet link) on the L300 front panel should be on and you should see that the Ethernet activity light, “ACT, ”... -
Page 12: Device Setup
Device Setup Once you have connected a keyboard, monitor, and mouse to an L300 device you are ready to configure the device to communicate with the host computer. Your L300 device will perform a network scan to locate the available connections. -
Page 13: Installing A Second Ncomputing L300 Virtual Desktop
To install a second device simply follow the instructions above to attach a monitor, mouse, and keyboard to another L300 Virtual Desktop device. If you are using DHCP , then the device will automatically obtain an IP address for its use while the session is active. -
Page 14: Evaluating The Administrator's Console
NComputing L300 Virtual Desktop Evaluation Guide Evaluating the Administrator’s Console Image A: The L300 console is an MMC (Microsoft Management Console) Snap-in which allows you to manage your users with ease with a console that you most likely have experience with. -
Page 15: Evaluating The Virtual Desktop
D Evaluating the Virtual Desktop Image E: As part of your evaluation of the L300 you can also review the user desktop. The desktop as shown in the following screen looks and behaves exactly as a regular PC desktop. Your users will have their own desktop with their own files, applications, and ability to store their data. - Page 16 NOTE: Windows Server and appropriate client access licenses are required for multiuser environments using NComputing products. Client operating systems such as Windows XP , Windows Vista and Windows 7 are appropriate for single user applications such as 1:1 VDI, display systems and remote access.


