Table of Contents
Advertisement
Quick Links
Advertisement
Table of Contents

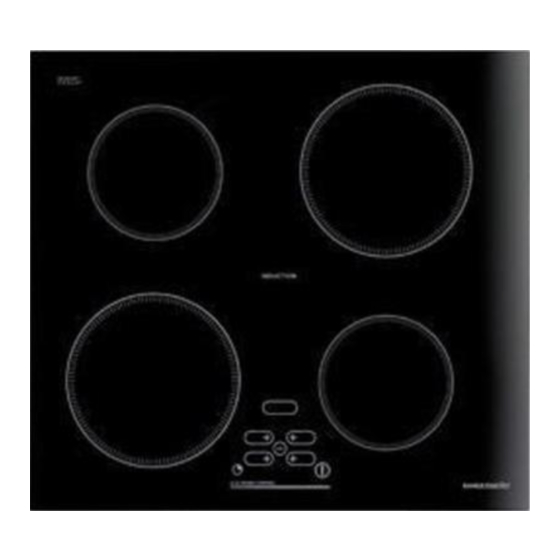
Summary of Contents for Rangemaster RI60
-
Page 1: User Guide
RI60 Induction Hob User Guide & Installation & Service Instructions U109918 - 03... -
Page 2: Table Of Contents
Contents Before You Start... Hob Overview Cleaning Your Hob Troubleshooting Installation Circuit Diagram Technical Data Warranty/After Sales Service... -
Page 3: Before You Start
1. Before You Start... Thank you for buying a Rangemaster hob. It should give you many years trouble-free cooking if installed and operated correctly. It is important that you read this section before you start, particularly if you have not used an induction hob before. -
Page 4: Hob Care
Hob Care DO NOT use the hob surface as a cutting board. DO NOT leave utensils, foodstuffs or combustible items on the hob when it is not is use (e.g. tea towels, frying pans containing oil). DO NOT place plastic or aluminium foil, or plastic containers, on the hob. -
Page 5: Hob Overview
Always take care before touching the surface, even when the hob is turned off. It may be hotter than you think! INDUCTION ELECTRONIC CONTROL ����������������������������� ArtNo.312-0004 Correct pans ceramic ArtNo.312-0005 Curved bottomed pan ceramic DocNo.023-0001 - Overview - RI60 Fig.2-1 �������������������������� �������������������������� Fig.2-2 Fig.2-3... -
Page 6: Pan Detector
Fig.2-5 � � � 1. Power ON/Power OFF 5. Zone selection indicator 2. Cooking zone + 6. Timer control 3. Cooking zone – 7. Timer display ELECTRONIC CONTROL 4. Digital display 8. TImer indicator lights (4 off) ArtNo.317-0002 60 On-off controls Fig.2-6 ArtNo.317-0003 60 Selecting a zone + Fig.2-7... - Page 7 Note: The ‘+’ keys have a repeat function: holding the key pressed down will increase the power setting by one level every 0.3 seconds. To reduce the power to a cooking zone select the required zone, as indicated by the red dot in the display. Press the ‘–‘...
-
Page 8: Minute Timer
Fig.2-15 ArtNo.317-0007 60 Setting the zone timer Fig.2-16 ����� �� �������� ��� ���� ArtNo.317-0007 60 Setting the zone timer Fig.2-17 ��������������� ArtNo.317-0007 60 Setting the zone timer Fig.2-18 ����� �� �������� ��� ���� ArtNo.317-0018 60 Setting the minute timer Timer Function The timer has two settings: •... - Page 9 Turning off the timer alarm: At the end of the cooking time the hob will beep steadily for 2 minutes. Press any key to stop the alarm. Deactivating the timer: Make sure that none of the cooking zones has been selected. Press the timer and ‘–‘...
-
Page 10: Cleaning Your Hob
Ceramic Hob Cleaner set with scraper. More information is available in the Cookware Collection brochure supplied with your hob and on our website, www. rangemaster.co.uk. Regular cleaning is recommended. For easier cleaning, wipe away any spillages immediately. -
Page 11: Troubleshooting
4. Troubleshooting If there is an installation problem and I don’t get my original installer to come back to fix it, who pays? You do. Service organisations will charge for their call- outs if they are correcting work carried out by your original installer. -
Page 12: Installation
In case of doubt, do not use the appliance and contact the retailer. Never leave the packaging materials (cardboard, plastic bags, polystyrene foam, etc.) within children’s reach since they could become potential sources of danger. DocNo.063-0001 - Installation - RI60 hob... -
Page 13: Fixing The Hob
Turn the hob back the right way up and position it in the worktop cut-out. INSTALLATION ��� ArtNo 314-0006 60cm induction dimensions �� ��� ��������� �������� ArtNo 314-0007 Induction hob clearances (Side) ������������������� ���������������� ���������������� ArtNo 314-0008 RI60 hob clearances ����� ��� Fig.5-1 ��� ��� Fig.5-2 ���� ��� ������ ������� Fig.5-3 ���������... -
Page 14: Electrical Connections
Check the appliance is electrically safe when you have finished. Fig.5-4 ������� ����� ������ ������� ������� ArtNo.317-0012 - Hob fittings 1 ����� ������� � � Fig.5-5 ����� ArtNo.130-0008 - Electrical connections Induction hob � �� �� �������� Fig.5-6 400V 2N H05RR-F4x2.5 ArtNo.314-0010 Induction electrical label 230V... -
Page 15: Circuit Diagram
6. Circuit Diagram � �� ��� ��� ��� � ArtNo.080-0014 RI60-RI77 circuit diagram � ��� ��� ��� �� � � ArtNo.314-0007 Induction hobs labelled INDUCTION � � �� � � � � ELECTRONIC CONTROL � � INDUCTION � � ��... -
Page 16: Technical Data
ArtNo.314-0012 RI60 kW ratings ��������� Above worktop: 5mm 580mm; see ‘Positioning of the Hob’ See ‘Positioning of the Hob’ ��������� INDUCTION ��������� �� � � � � ELECTRONIC CONTROL DocNo.103-0001 - Technical data - RI60 hob Below worktop: 41mm 510mm 650mm... -
Page 17: Warranty/After Sales Service
8. Warranty/After Sales Service DocNo.111-0001 Warranty If consultation or technical assistance is needed, please provide the local authorised service agent with the purchase invoice and the product code/serial number. The 2 years free maintenance for the operation of the appliance started from the date of purchase of this product. Any cosmetic damage to the appliance must be reported within 90 days of delivery. - Page 20 DocNo.000-0001 - Back cover Rangemaster �������������� ����������� ������� ����� w w w.ra n g e m a s t e r.c o .u k ArtNo.000-0003 CE logo...


