Table of Contents
Advertisement
Advertisement
Table of Contents

Summary of Contents for Philips ADD4965
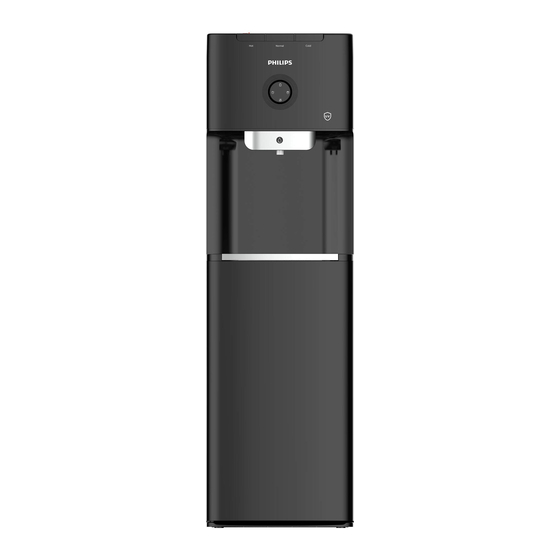
- Page 1 Dispenser ADD4965 ADD4968 User Manual...
-
Page 3: Table Of Contents
Content Main technical speci cation Trouble shooting Guarantee and Service Product overview Packing list Indicator panel and switch Instruction ·Filter ·UV-LED light Precautions Cleaning and maintenance... -
Page 4: Main Technical Speci Cation
1 Main technical speci cation Model ADD4965 ADD4968 Filter model ADD502 Rated voltage 220-240V~ Rated frequency 50Hz/60Hz Heating power 500W Cooling power Hot water ≥90℃, 5L/h Cold water ≤10℃, 2L/h Environmental temp. ST/T Coolant R134a, 38g Relative humidity ≤90% Protection of anti-electric shock 制冷开关... -
Page 5: Product Overview
Product overview Child safety lock Filter Indicator panel Water bottle Water faucet Power switch Drip tray Condenser Lower cabinet door Power cord Filter reset button Dispenser ushing drain Water bottle cap with hose Filter drain... -
Page 6: Indicator Panel And Switch
3 Indicator panel and switch Filter lifetime indicator Heating indicator Cooling indicator Water shortage indicator Indicator panel When the dispenser is heating up the water in the hot water tank, the heating indicator light will be on. When the dispenser is cooling the water in the cold water tank, the cooling indicator light will be on. -
Page 7: Instruction
If you rst turn on the switch, for optimal temperature, the dispenser will need around 20 minutes for hot water and around an hour for cold water. 4 Instruction (1) Unpacking the water dispenser · Cut and remove the straps from the box. DO NOT turn the box upside down, or lay it on its side. -
Page 8: Filter
Note: If there is not a secure connection between the hose cap and the connector on the water dispenser, the water pump will operate but the water dispenser will not dispense water. Make sure the hose is connected to the water dispenser correctly. (3) Dispense water ·... -
Page 9: Uv-Led Light
(2) Flushing the lter for rst time usage Dispenser ushing drain · Unplug the lter drain at the back of the dispenser, and connect the lter drain with the PE pipe provided. Put the other end of the PE pipe in a container or a bucket which can hold at least 5L water. - Page 10 · Do not let hot water touch bare skin. Keep combustible material such as furniture, bedding, pillows, clothes, and/or papers away from the back of the unit. · Do not operate this, or any other appliance with a damaged power cord. No other appliance should be plugged into the same outlet.
-
Page 11: Cleaning And Maintenance
6 Cleaning and maintenance · To avoid accidents, turn o and unplug the water dispenser from the outlet before cleaning. · A soft damp cloth may be used to clean the surface of the water dispenser. When necessary, a mild detergent may be used. DO NOT use corrosive chemical solvents to clean the unit, as this may damage the surface of the water dispenser. -
Page 12: Trouble Shooting
7 Trouble shooting Trouble Possible causes Solutions Unit does 1. Unit is unplugged. 1. Plug the power cord into an socket. not dispense 2. Main power supply is o . 2. Reestablish main power supply. hot and 3. Damaged water dispenser. 3. -
Page 13: Guarantee And Service
This product includes a two-year warranty for the dispenser and three-year warranty for compressor from the date of purchase. If you need more information, please visit: www.Philips.com. Within the warranty period, you will receive free warranty service for any damage caused by the manufacturing process or components under normal operation con rmed by our maintenance service. - Page 14 Please keep this user manual for future reference.
- Page 16 © 2019 AquaShield All rights reserved. The Philips trademark and the Philips Shield Emblem are registered trademarks of Koninklijke Philips N.V. used under license. This product has been manufactured by and is sold under the responsibility of Hong Kong AquaShield Health Technology Company Limited and Hong Kong AquaShield Health Technology Company Limited is the warrantor in relation to this product.


