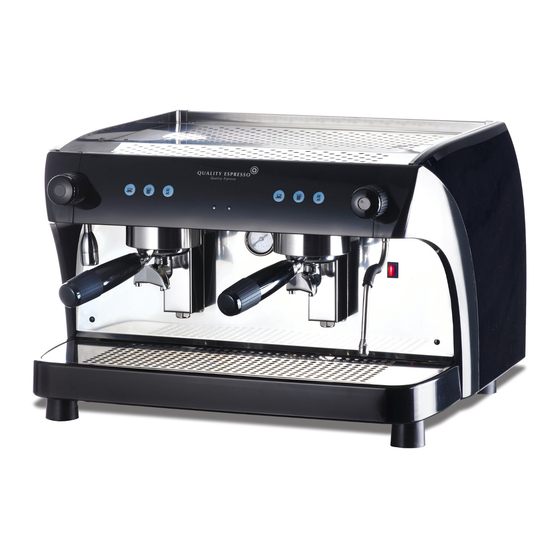
Summary of Contents for Quality Espresso Ruby Pro 2
- Page 1 User Manual Before operating this equipment, read the instructions for usage and connection. 08548600 Manufacturer of coffee machines since 1952 Ver.27-09/2012...
- Page 2 WARNING RISK OF FIRE OR ELECTRIC SHOCK DO NOT OPEN WARNING. TO REDUCE THE RISK OF FIRE OR ELECTRIC SHOCK. DO DOT REMOVE COVER (OR BACK) NO USER – SERVICEABLE PARTS INSIDE REPAIR SHOULD BE DONE BY AUTHORIZED SERVICE PERSONNEL ONLY...
- Page 3 1.2 Safety indications ......... . 2. General description of Ruby Pro 2 2.1 General Overview.
-
Page 4: Safety Indications
We ask you to carefully read this instruction manual before operating your new coffee machine for the first time. Keep these instructions in a safe place where you can consult them when necessary. The inappropriate use of this machine exempts Quality Espresso from any liability. 1.2 Safety indications •... - Page 5 Manipulation - Any internal manipulation of the machine, except that which is specifically described in this manual regarding cleaning processes, must be performed by an authorized service technician. - Cleaning and preventive maintenance according to the frequency indicated for the machine, or by the service technician, is required.
-
Page 6: General Overview
General Description of Ruby 2 2.1 General Overview Water Supply: Main Water Net Water Pump: Pump Rot. 8-9 bar. Element Wattage: 2.500 W (230 V) 1.500 W (115 V) Boiler Capacity: 6,5 L. A = 367 mm B = 567 mm C = 511 mm 5 - Power Switch 9 - Drain Tray... -
Page 7: Installation And Start-Up
Installation and Start-up 3.1 Prior Installation Verify before Installing: 1. Drainage tube with an interior diameter no less than 35 mm. 2. Mains water network supply tube connected to water softener. 3. Stopcock with 3/8” G exit. 4. Grounded plug protected with a magneto- thermic circuit breaker. - Page 8 Connect the machine plug to the appropriate socket Connect the drainage tube to the machine according to the current electrical standards of the area. You should not use extension cords or outlet Lead the drainage tube through the opening at the base adapters of any kind to connect the machine to of the machine and connect the tube to the fitting.
-
Page 9: Dose Programming
3.3 Dose Programming • We can program the amount of coffee for the one-coffee and two-coffee pushbuttons. Enter Program mode: • With the machine turned off, hold down the continuous coffee button. Turn on the machine and wait 4 seconds with the continuous coffee key pressed until the selection button lights turn off. - Page 10 Selecting Pushbutton LED Illumination Mode 5.1 Illumination modes We can choose between 3 different illumination modes for the product selection pushbuttons. LED MODE 1 By default, all the pushbuttons are unlit. When we press a button that key lights up and the others remain unlit.
-
Page 11: Incidents And Possible Causes
Incidents and Possible causes POSSIBLE CAUSES SYMPTOMS COMMENTS • - Blocked pump. - If the water has particles Noisy Pump - No water in the network. suspended in it or it is too hard, - Obstruction in water supply. you should install a water softener filter.


