Table of Contents
Advertisement
Quick Links
Advertisement
Table of Contents

Summary of Contents for Whirlpool OSA YG3F IX
- Page 1 Health & Safety, Use & Care and Installation Guides www.whirlpool.eu/register...
-
Page 2: Safety Instructions
SAFETY INSTRUCTIONS IMPORTANT TO BE READ AND OBSERVED These instructions are valid if the country food drying. If the appliance is suitable for probe symbol appears on the appliance. If the symbol usage, only temperature probe recommended for this oven - risk of fire. does not appear on the appliance, please refer to the technical instructions which will provide Keep clothes or other flammable materials... -
Page 3: Gas Connection
electrical connections and repairs must be above 50°C. carried out by a qualified technician. Do not Should you find it difficult to turn the knobs for the burner, please contact the After-sales Service, who can repair or replace any part of the appliance unless replace of the burner tap if found to be faulty. -
Page 4: Adapting To Different Types Of Gas
ADAPTING TO DIFFERENT TYPES OF GAS IMPORTANT : When the gas cylinder or gas (THIS OPERATION NEEDS TO BE CARRIED OUT BY container is installed, it must be properly settled A QUALIFIED TECHNICIAN.) (vertical orientation). In order to adapt the appliance to a type of WARNING : This operation must be perfomed gas other than the type for which it was by a qualified technician. - Page 5 Take care to replace also the bottom of the oven Wear protective gloves for cleaning and in its original position. maintenance. ELECTRICAL WARNINGS DISPOSAL OF PACKAGING MATERIALS IMPORTANT: Information about current and The packaging material is 100% recyclable and is marked with the recycle symbol .
- Page 6 OSA YG3F IX G20,20 mbar G30,28-30 mbar G20,25 mbar G30,37 mbar G30,50 mbar Burner G25,25 mbar G31,37 mbar Specications Gas natural Gas natural Injector 0,92 0,92 0,60 0,60 0,55 Grill burner Gas flow 0,143 m³/h 0,143 m³/h Power 1,50 1,50...
-
Page 7: Product Description
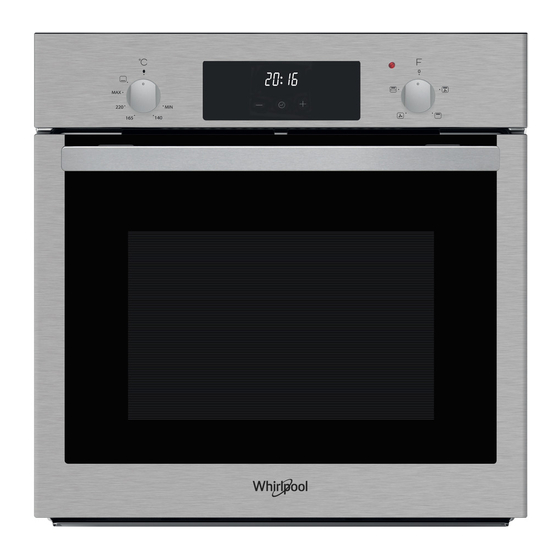
PRODUCT DESCRIPTION Control panel Shelf guides (the level is indicated on the wall of the cooking compartment) Recess for roasting spit (if present) Door Upper heating element Light Fan element Identification plate (do not remove) Burner (not visible) CONTROL PANEL Thermostat selection knob 2. -
Page 8: Before Use
REMOVE THE LATERAL SHELF GUIDES To refit the grilles, insert the top support, then slide To remove the side grilles, press down the grilles and lift them to be fitted close to the cavity and push them up them up as shown. Then, extract the grilles from their to fix in their original position. -
Page 9: Oven Light
OVEN LIGHT Using the buttons, you can adjust the current time of day. The oven light switches on every time an electric CANCELLING THE ALARM SOUND function is selected. It's possible to activate three combinations: Oven light When the countdown of the minute minder is and turnspit, oven light and electric grill, oven light with completed, the screen will return to displaying the both turnspit and electric grill. -
Page 10: Cooking Table
COOKING TABLE LEVEL AND RECIPE FUNCTION TEMPERATURE (°C) DURATION (MIN) ACCESSORIES Cake 170 - 180 35 - 45 Small cake 170 - 180 25 - 30 180 - 200 35 - 45 Pastry 180 - 190 20 - 25 Cookies 170 - 180 20 - 25 Apple pie... -
Page 11: Cleaning And Maintenance
CLEANING AND MAINTENANCE Make sure that the oven has Do not use wire wool, abrasive Wear protective gloves. cooled down before carrying scourers or abrasive/corrosive The oven must be disconnected out any maintenance or cleaning agents, as these could from the mains before carrying cleaning. -
Page 12: Troubleshooting
TROUBLESHOOTING Problem Possible cause Solution Check for the presence of mains electrical Power cut. power and whether the oven is connected to the electricity supply. Disconnection from the Wait at least one minute, then try to switch mains electricity. the oven on again and see if the problem persists. - Page 13 90°C...
- Page 14 89° max (min.) (min.)
- Page 15 Whirlpool EMEA S.p.A. Via Carlo Pisacane n. 1 20016 Pero (Mi), Italia 400011326699...


