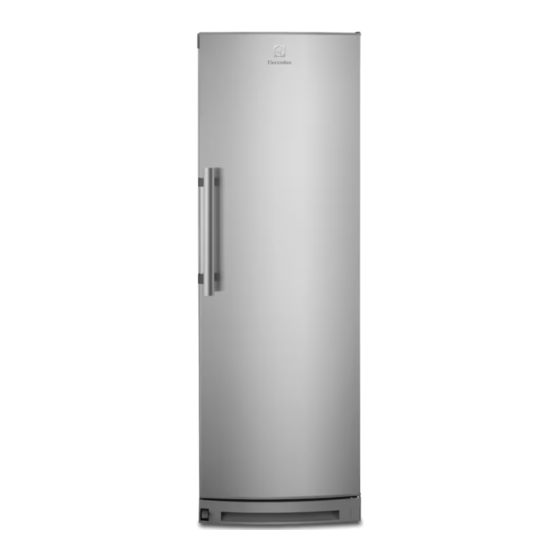
Summary of Contents for Electrolux ERF3866AOW
- Page 1 ..................... ERF3866AOW EN REFRIGERATOR USER MANUAL ERF3866AOX...
-
Page 2: Table Of Contents
9. TECHNICAL DATA ............19 WE’RE THINKING OF YOU Thank you for purchasing an Electrolux appliance. You’ve chosen a product that brings with it decades of professional experience and innovation. Ingenious and stylish, it has been designed with you in mind. -
Page 3: Safety Instructions
ENGLISH SAFETY INSTRUCTIONS In the interest of your safety and to ensure Keep ventilation openings, in the appli- the correct use, before installing and first ance enclosure or in the built-in structure, using the appliance, read this user manual clear of obstruction. carefully, including its hints and warnings. - Page 4 Power cord must not be length- 1.5 Installation ened. For electrical connection carefully Make sure that the power plug is follow the instructions given in not squashed or damaged by the specific paragraphs. back of the appliance. A squashed or damaged power plug may over- •...
-
Page 5: Control Panel
ENGLISH obtain from your local authorities. exchanger. The materials used on Avoid damaging the cooling unit, this appliance marked by the sym- especially at the rear near the heat are recyclable. 2. CONTROL PANEL ON/OFF button It is possible to change predefined sound of buttons to a loudly one by pressing to- Mode button gether Mode button and Temperature... - Page 6 The function switches off by se- 2.4 Temperature regulation lecting a different set temperature. The set temperature of the fridge may be adjusted by pressing the temperature but- 2.7 Extra Humidity Mode ton. Set default temperature: +4°C for the If you need to increase the humidity in the fridge.
-
Page 7: Daily Use
ENGLISH 3. DAILY USE 3.1 Use of the fridge 3.2 Taste Guard Filter compartment Your appliance is equipped with a carbon filter behind the air lever flap. The temperature of this compartment may The filter purifies the air from unwanted be regulated between +2°C and +8°C. - Page 8 3.6 Humidity control The glass shelf incorporates a device with slits (adjustable by means of a sliding lev- er), which makes it possible to regulate the humidity level in the vegetable draw- er(s). When the ventilation slots are closed:...
-
Page 9: Helpful Hints And Tips
ENGLISH 3.8 Cleaning the interior Before using the appliance for the first time, wash the interior and all internal ac- cessories with lukewarm water and some neutral soap so as to remove the typical smell of a brand-new product, then dry thoroughly. -
Page 10: Care And Cleaning
10 www.electrolux.com compressor will run for a longer time. If • If you want to check the temperature of too cold, change to a higher tempera- food stored in the refrigerator, place a ture setting. glass of water centrally in the cabinet,... -
Page 11: What To Do If
ENGLISH New active filters can be purchased from remove all food your local dealer. defrost and clean the appliance and Refer to "Installation of the Taste Guard all accessories filter" for instructions. leave the door/doors open to prevent unpleasant smells. 5.3 Periods of non-operation If the cabinet will be kept on, ask somebody to check it once in a... - Page 12 12 www.electrolux.com Problem Possible cause Solution The appliance is The appliance is not sup- Check if the appliance noisy. ported properly. stands stable (all feet and wheels should be on the floor). Refer to "Levelling". The buzzer sounds. The door is not closed Refer to "Door open alarm".
- Page 13 ENGLISH Problem Possible cause Solution The temperature in There is no cold air circu- Make sure that there is cold the refrigerator is lation in the appliance. air circulation in the appli- too high. ance. Large quantities of food to Insert smaller quantities of be cooled were put in at food to be cooled at one...
-
Page 14: Installation
14 www.electrolux.com 7. INSTALLATION WARNING! Cli- Ambient temperature Read the "Safety Information" mate carefully for your safety and cor- class rect operation of the appliance before installing the appliance. +10°C to + 32°C +16°C to + 32°C 7.1 Positioning +16°C to + 38°C Install this appliance at a location where +16°C to + 43°C... - Page 15 ENGLISH 7.4 Removing the transport support Your appliance is equipped with transport support to secure the door during trans- portation. To remove them do these steps: • Open the door. • Remove the transport support from the door sides. • Remove the transport support from the lower hinge (some models).
- Page 16 16 www.electrolux.com 7.7 Installation of the Taste Guard filter The Taste Guard filter is an active carbon filter which absorbs bad odors maintain the best flavour and aroma for all food- stuffs without risk of odor cross contami- nation. On delivery the carbon filter is in a plastic bag to preserve performance.
-
Page 17: Noises
ENGLISH • Unscrew the lower hinge (1). Move the pin to the opposite side (2). • Unscrew and move the pedal to the op- posite side (3). • Unscrew (1) and move (2) the bracket to the other side on the door. •... - Page 18 18 www.electrolux.com HISSS! BRRR SSSRRR! SSSRRR! HISSS! HISSS! CRACK! CRACK! BLUBB! BLUBB!
-
Page 19: Technical Data
ENGLISH 9. TECHNICAL DATA Dimension Height 1800 mm Width 595 mm Depth 623 mm Voltage 230 V Frequency 50 Hz The technical information are situated in the rating plate on the internal left side of the appliance and in the energy label. 10. - Page 20 www.electrolux.com/shop...


