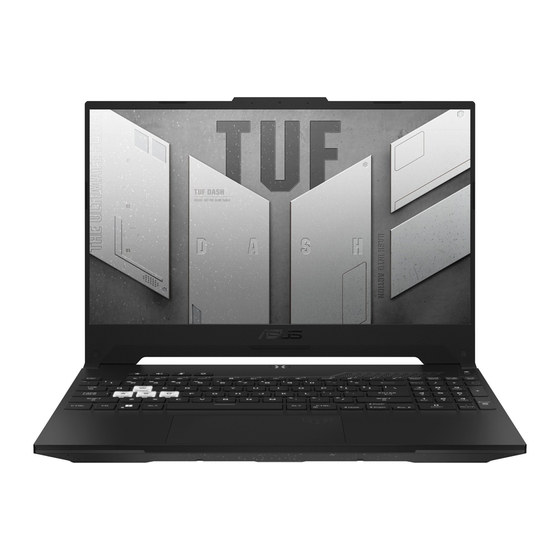
Summary of Contents for Asus TUF GAMING DASH LAPTOP
- Page 1 E17960 First Edition / January 2021 SERVICE MANUAL More info: https://tm.by Интернет-магазин TM.by...
- Page 2 Warranty Statement, up to the listed contract price of each product. ASUS will only be responsible for or indemnify you for loss, damages or claims based in contract, tort or infringement under this Warranty Statement.
-
Page 3: Table Of Contents
Table of Contents Disclaimer ........................4 Safety precautions .....................4 Major components ....................6 Installation tools......................7 Removing the compartment cover ..............7 Cover screw map .......................9 Installing a RAM module ..................10 Installing an M.2 card ....................12 Wiring and connection diagrams ................14 Service Manual https://tm.by Интернет-магазин... -
Page 4: Disclaimer
Disclaimer ASUS is not responsible for direct, indirect, intentional or unintentional damages resulting from improper installation and operation. Safety precautions • Keep liquids or moisture away from your Notebook PC before installing or removing any components. • Ensure to place your Notebook PC on a stable surface before installing or removing any components. - Page 5 • Before handling components, use a grounded wrist strap or touch a safely grounded object to avoid damaging them due to static electricity. • Keep liquids or moisture away from your Notebook PC to avoid short circuits. • Hold components by the edges to avoid touching the ICs. •...
-
Page 6: Major Components
Major components Power supply connector USB Type-A connector LAN connector USB Type-A connector HDMI connector USB Type-A connector Headphone jack Motherboard with ports and connectors Fan/Cooling radiator Keyboard RAM module SSD module LCD panel module Power adapter Battery and power connector Service Manual https://tm.by Интернет-магазин... -
Page 7: Installation Tools
Installation tools Screwdriver Plastic blade Tweezers Removing the compartment cover Remove the screw(s) from the Notebook PC’s compartment cover. Loosen the Pop-open Screw without removing the screw from the cover. Pull out the compartment cover and remove it completely from your Notebook PC. - Page 8 To reattach the compartment cover: Align and reattach the cover of the compartment. Secure the cover using the screw(s) you removed earlier. Tighten the Pop-open Screw. Pop-open Screw Service Manual https://tm.by Интернет-магазин TM.by...
-
Page 9: Cover Screw Map
Cover screw map M2 X 9.5 (7PCS) M2 X 8 (7PCS) M2.5 X 8 (1PC Pop-open Screw) Service Manual https://tm.by Интернет-магазин TM.by... -
Page 10: Installing A Ram Module
Installing a RAM module Upgrade the memory capacity of your Notebook PC by installing a RAM (Random Access Memory) module in the memory module compartment. The following steps show you how to install a RAM module into your Notebook PC: WARNING! Disconnect all the connected peripherals, any telephone or telecommunication lines and power connector (such as external power supply, battery pack, etc.) before removing the compartment cover. - Page 11 Remove the compartment cover. NOTE: For more details, refer to the Removing the compartment cover section in this manual. Align and insert the RAM module into the RAM module slot. Push down the RAM module until it clicks in place. 30°...
-
Page 12: Installing An M.2 Card
Installing an M.2 card Refer to the following steps when installing a compatible M.2 card in your Notebook PC: IMPORTANT! Purchase your M.2 card from authorized retailers of this Notebook PC to ensure maximum compatibility and reliability. WARNING! Disconnect all the connected peripherals, any telephone or telecommunication lines and power connector (such as external power supply, battery pack, etc.) before removing the compartment cover. - Page 13 Remove the compartment cover. NOTE: For more details, refer to the Removing the compartment cover section in this manual. Align and insert the M.2 card into the module slot. Secure the M.2 card in place using the bundled screw(s). Service Manual https://tm.by Интернет-магазин...
-
Page 14: Wiring And Connection Diagrams
Wiring and connection diagrams Top View Service Manual https://tm.by Интернет-магазин TM.by... - Page 15 Bottom View 1. Display connector 10. Battery connector 2. Power supply connector 11. Keyboard backlight connector 3. LAN connector 12. Touchpad connector 4. HDMI connector 13. Keyboard connector 5. USB Type-A connector 14. WLAN connector 6. USB Type-C connector 15. Fan connector 7.
- Page 16 https://tm.by Интернет-магазин TM.by...


