Advertisement
Quick Links
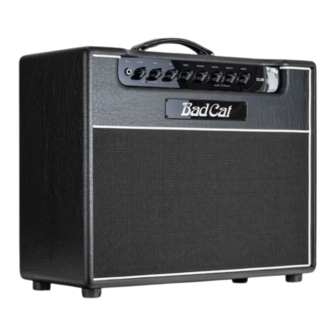
Cub Owner's Manual
Bad Cat Amps
Costa Mesa, California
For the latest information go to: www.badcatamps.com. Whilst the information contained
herein is correct at the time of publication, due to our policy of constant improvement and
development, Bad Cat Amps reserves the right to alter specifications without prior notice.
Advertisement

Summary of Contents for Bad Cat Cub
- Page 1 For the latest information go to: www.badcatamps.com. Whilst the information contained herein is correct at the time of publication, due to our policy of constant improvement and development, Bad Cat Amps reserves the right to alter specifications without prior notice.
- Page 2 READ THE FOLLOWING INFORMATION CAREFULLY. SAVE ALL INSTRUCTIONS FOR FUTURE REFERENCE! NO USER SERVICEABLE PARTS INSIDE. DO NOT ATTEMPT TO GAIN ACCESS TO THE INTERIOR OF THE PRODUCT. REFER ALL SERVICING TO AUTHORIZED BAD CAT SERVICE CENTERS. Read these instructions.
- Page 3 Bad Cat amp. Since we also play what we build, it is truly gratifying for the Bad Cat Team to be a part of bringing each amp to life and welcome you to the Bad Cat den.
- Page 4 (This is bypassed when the footswitch is engaged) Master 2 The Cub amplifier has two independent master volume controls. Like Master 1, this controls the overall amplitude and volume of the amplifier. Use the Volume control to regulate the amount of gain or distortion and control the amplitude with the Master.
- Page 5 Rear Panel (from left to right) Power Input This is where you connect your power cable. Use IEC power cable only. The cable should only be connected to a power outlet that is compatible with the voltage, power and frequency requirements stated on the rear panel.
- Page 6 Custom UK 12” Celestion speaker (Combo) Two Button Footswitch Included Bad Cat Manufacturer Warranty Every Bad Cat amp is backed by a 5 year non- transferable warranty. Registration and proof of purchase is required for Manufacturer’s Warranty coverage. To learn about the warranty and to register your amp, please visit www.badcatamps.com/support...


