Advertisement
Quick Links
Quick
Start Guide
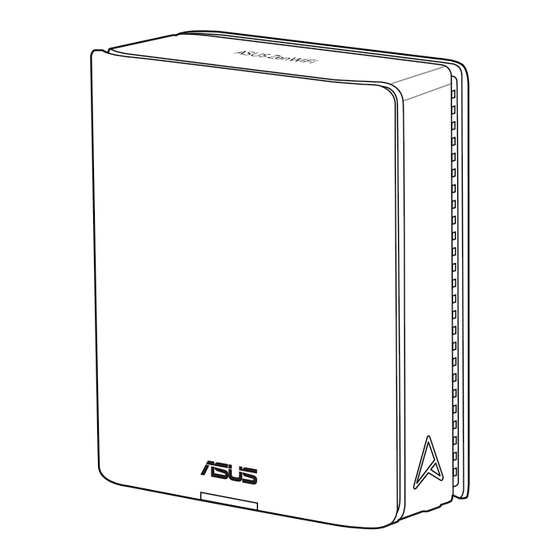
ASUS ZenWiFi BT10
BE18000 Tri Band WiFi Router
Model: BT10
* If no 6GHz SSID is displayed, please check whether your OS and client device are fully
licensed to support the newly released 6GHz band. You can check with your OS and
client device provider for Wi-Fi 6E driver release schedule.
Before Setup
Preparing to set up an AiMesh WiFi system
1
Find three ZenWiFi BT10, and power them on.
2
Use a network cable to connect your optical modem to either WAN/LAN1 port or 10G WAN/LAN2
port of ZenWiFi BT10 with the "Main Unit" sticker. This ZenWiFi BT10 will be the AiMesh router, and
the other two ZenWiFi BT10 will be the AiMesh node.
3
The LED turns solid blue to indicate that ZenWiFi BT10 is ready for setup.
ASUS Router App
Download free ASUS Router App to set up and
manage your router(s).
AiMesh Setup Steps
01
Prepare
Place your AiMesh router and nodes in the same room and at least 1
meter apart during the setup process.
AiMesh node
02
Keep your AiMesh nodes powered on and standby for AiMesh system
settings.
03
Launching ASUS Router App
Launch ASUS Router App, and then follow the on-screen instructions
to finish the AiMesh setup.
Troubleshooting
If your AiMesh router cannot find any AiMesh node nearby or synchronization fails, please check the following and
try again.
a
Move your AiMesh node closer to the AiMesh router ideally. Ensure that it is within 3 meters.
b
Your AiMesh node is powered on.
Hardware Explanations
Plug the adapter into the DCIN port, and press the power switch.
1
The LED indicator will light up when your hardware is ready.
2
ZenWiFi BT10 Overview
10G WAN/
Power
USB 3.0 port
LAN2 port
(DCIN) port
WAN/LAN1
10G LAN3
Power switch
port
port
Specifications:
DC Power adapter
DC Output: +12V with max 3A current
Operating Temperature
0~40
Operating Humidity
50~90%
AiMesh node
1 meter apart
AiMesh node
NOTE:
When you're using a wireless backhaul to connect your router and AiMesh node,
the WAN/LAN ports on your AiMesh node can be used as LAN ports.
LED Indicator
WAN/LAN1 port, 10G WAN/LAN2 port
Connect your optical modem to either WAN/
LAN1 port or 10G WAN/LAN2 port with a net-
work cable.
10G LAN3 port
Connect your PC to a LAN port with a network
cable.
C
Storage
0~70
C
o
o
Storage
20~90%
AiMesh node
AiMesh router
AiMesh Setup Steps
1 meter apart
AiMesh node
E23557
AiMesh router
Advertisement

Summary of Contents for Asus E23557
- Page 1 When you’re using a wireless backhaul to connect your router and AiMesh node, the WAN/LAN ports on your AiMesh node can be used as LAN ports. Launch ASUS Router App, and then follow the on-screen instructions to finish the AiMesh setup.
- Page 2 The radiated output power of the ASUS Wireless Device is below the Innovation, Science and Economic Development installation. Canada radio frequency exposure limits. The ASUS Wireless Device should be used in such a manner such that the potential This equipment generates, uses and can radiate radio frequency energy and, if not installed and used in accordance for human contact during normal operation is minimized.


