Table of Contents
Advertisement
Advertisement
Table of Contents

Summary of Contents for Motorola Vonage VT2542
- Page 1 Quick Start Guide ® Vonage Device Motorola VT2542...
-
Page 2: Before You Begin
(You will need to provide the MAC ID on the bottom of the Vonage Device.) In the U.S., visit www.vonage.com/activate. In Canada, visit www.vonage.ca/activate. If you received your Vonage Device in the mail from Vonage, your Vonage phone service has already been activated. You also need a high-speed Internet connection, such as DSL or cable, to use Vonage. - Page 3 Quick Start Guide for Vonage ® Get ready to start saving money on your phone bill with Vonage – just follow these easy step-by-step instructions to set up your new Vonage device. Within minutes, you’ll be making phone calls with...
- Page 4 Blue Cable Yellow Cable Black Power Cord Blue Cable Yellow Cable NOTE: Ensure you are using the power supply provided with the Vonage Device. Using the wrong power supply could result in damage to your equipment. *Not required for installation.
- Page 5 Step 2: Set up your Vonage ® Device Unplug your existing modem’s power cord. Leave your modem connected to your cable or DSL phone line that supplies your Internet connection. Unplug the Ethernet cable that connects your modem to your computer or router. Unplug the cable from both your modem and your computer (or router).
- Page 6 Connect one end of the yellow cable to the yellow port labeled “Ethernet 1” on the back of the Vonage Device. Connect the other end to the Ethernet port on your computer or router that you unplugged earlier. Vonage Device NOTE: If you unplugged a USB cord, do not attempt to plug the Ethernet cord into the USB port.
- Page 7 Vonage Device should both turn on. Wait until the “Power” light stops blinking and both “Power” and “Phone 1” lights are solid. The “Phone 2” light will be solid if you have a second Vonage line. Otherwise, it will not light. The “Internet” light will flicker whenever there is communication activity.
- Page 8 Click the Tools tab and click Restart on the left. Click the Restart button. Note: If you had an existing router connected to your DSL modem, but it is now connected to your Vonage device, the router will have to be set up as a DHCP client instead of PPPoE.
-
Page 9: Connecting Your Phone
Pick up your handset. If you hear a dial tone, congratulations! You’ve set up your Vonage service correctly, and can now start making calls. To configure your voicemail and other included services features, simply login to your web account at www.vonage.com. -
Page 10: Wireless Networking
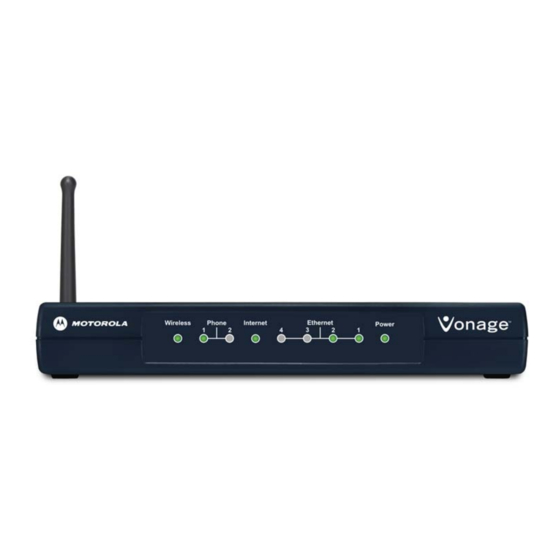
‘MOT-1-xx’ (xx refers to the last two digits on the wireless MAC ID) Wi-Fi network. Because your Vonage device is wireless, it is not required that you have a computer physically connected to your Vonage Device for it to work. - Page 11 Ph on e Power – When the power light stops blinking and is a solid green, this indicates that your Vonage Device has started up properly. Note that both the power light and the phone light must be solid in order to make a phone call.
-
Page 12: Troubleshooting Tips
If necessary, refer to the information that came with your modem. Vonage Device – Wait for the power and phone(s) lights to be a solid green. (The Internet light will blink whenever there is activity.) Router, if you have one –... - Page 13 Be sure your phone is plugged in to the Green Phone Port 1 the rear panel of the Vonage Device, and that it is disconnected from the wall jack that a traditional phone uses. Reset all of your equipment as described on page 10. After you reset all your equipment, pick up your telephone handset to listen again for a dial tone.
- Page 14 ® Your Vonage Web Account To go to your web account: Visit the Vonage website and enter your username and password into the customer login area. Your Vonage Dashboard gives you everything you need at your fingertips. • Account – Visit the Account section to make changes to your personal and credit card information.
- Page 15 If you’re still having trouble, please call: 1-Vonage Help (866-243-4357) U.S. or 1-877-272-0528 Canada Vonage 911 service operates differently than traditional 911. See www.vonage.com/911 for details. High-speed Internet or broadband required. Alarms and other systems may not be compatible. © 2008 Vonage.
- Page 16 SYSTEM REQUIREMENTS • High-speed broadband Internet connection, such as Cable or DSL • A valid Vonage account • If you purchased your Vonage Device at a retail location, make sure to first activate your device at www.vonage.com/activate. In Canada, visit www.vonage.ca/activate.


