Table of Contents
Advertisement
Advertisement
Table of Contents

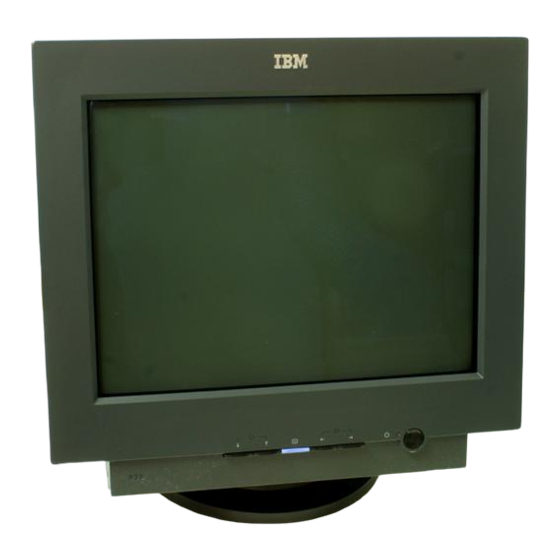
Summary of Contents for IBM P77
-
Page 1: Color Monitor
4-XXX-XXX-XX (1) Color Monitor English Operating Instructions... - Page 2 Edition 1 This publication could contain technical inaccuracies or typographical errors. Changes are made periodically to the information herein; these changes will be made in later editions. IBM may make improvements and/or changes in the product(s) and/or program(s) at any time. It is possible that this publication may contain reference to, or information about, IBM products (machines and programs), programming, or services that are not announced in your country.
-
Page 3: Table Of Contents
Table of Contents Precautions..........2 Identifying parts and controls . -
Page 4: Precautions
Maintenance Precautions • Clean the screen with a soft cloth. If you use a glass cleaning liquid, do not use any type of cleaner containing an anti-static Warning on power connections solution or similar additive as this may scratch the screen’s •... -
Page 5: Identifying Parts And Controls
Identifying parts and controls See the pages in parentheses for further details. Front Rear m and M buttons (pages 6, 7) 5 AC input connector (pages 2, 4, 13) These buttons display the BRIGHTNESS/CONTRAST This connector provides AC power to the monitor. menu. -
Page 6: Setup
Step 3: Turn on the monitor and Setup computer This monitor works with platforms running at horizontal First turn on the monitor, then turn on the computer. frequencies between 30 and 94 kHz Step 1: Connect your monitor to your computer Turn off the monitor and computer before connecting. -
Page 7: Workplace Preparation
Workplace Preparation Selecting the on-screen menu language (LANGUAGE) Positioning the Monitor Choose a suitable place to position the monitor where it is not near English, French, German, Spanish, Italian, Dutch, Swedish, fluorescent desk lighting or any equipment that produces Russian and Japanese versions of the on-screen menus are magnetic fields that could cause interference. -
Page 8: Customizing Your Monitor
x Menu Items Customizing Your Monitor You can make numerous adjustments to your monitor using the on-screen menu. Navigating the menu x Using the buttons , m / M and < / , Press the m/M buttons to highlight one of the following menus, then press the buttton to select the menu. -
Page 9: Adjusting The Brightness And Contrast
x Displaying the input signal Adjusting the brightness and The horizontal and vertical frequencies of the input signal are contrast displayed in the main MENU. If the signal matches to one of the recommended VESA timing modes, the resolution is also displayed. -
Page 10: Adjusting The Shape Of The Picture (Geometry)
If necessary, fine tune the color temperature. Adjusting the shape of the picture You can select your own color temperature between 9300K and 5000K. (GEOMETRY) First press the m or M button to select . Then press the < or , button to adjust the color temperature. The GEOMETRY settings allow you to adjust the rotation and shape of the picture. -
Page 11: Additional Settings (Option)
Resetting the adjustment Additional settings (OPTION) The RESET option erases your customized settings. To restore your monitor to the factory settings, first You can manually degauss (demagnetize) the monitor, adjust the press the m or M button to select 0 (RESET). Then moire cancellation level, reset to factory setting, and lock the press the , button to reset the adjustment for current controls. -
Page 12: Technical Features
Technical Features Troubleshooting Before contacting technical support, refer to this section. Preset and user modes If thin lines appear on your screen When the monitor receives an input signal, it automatically (damper wires) matches the signal to one of the factory preset modes stored in the monitor’s memory to provide a high quality picture at the center of the screen. -
Page 13: Trouble Symptoms And Remedies
Trouble symptoms and remedies If the problem is caused by the connected computer or other equipment, please refer to the connected equipment’s instruction manual. Use the self-diagnosis function (page 13) if the following recommendations do not resolve the problem. Symptom Check these items No picture If the 1 (power) indicator is not lit... - Page 14 If the problem persists, call your authorized technical support and give the following information. and date of manufacture. • Model name: P77 While the monitor is receiving a video signal, press and hold the • Serial number button for more than five seconds to display this monitor’s •...
-
Page 15: Self-Diagnosis Function
Self-diagnosis function Specifications This monitor is equipped with a self-diagnosis function. If there is 0.24 mm aperture grille pitch (center) a problem with your monitor or computer, the screen will go 17 inches measured diagonally blank and the 1 (power) indicator will either light up green or 90-degree deflection flash amber. -
Page 16: Service Information
The following parts are for use by IBM service, or IBM authorized dealers, to support customer warranty. Parts are for service use only. Monitor Information Part No. M/T-Model Description 22P6359 6639-T3N P77 Monitor - NH (Pearl White), Japan 22P6360 6639-U3N P77 Monitor - NH (Stealth Black), Japan 22P6361 6639-T3N P77 Monitor - NH (Pearl White)


