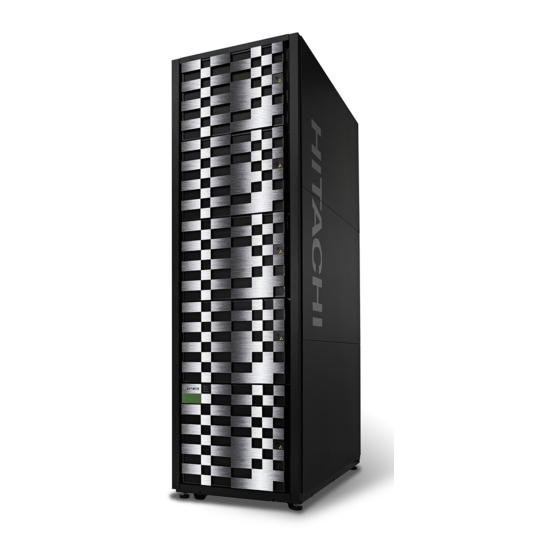
Hitachi G200 Quick Start
Virtual storage platform
Hide thumbs
Also See for G200:
- Service manual (418 pages) ,
- User manual (252 pages) ,
- Hardware reference manual (148 pages)
Advertisement
1
Prepare for
Installation
2
Connect the
Hardware
1
1
Prepare for Installation
1. Unpack package contents
CAUTION
LIFTING HAZARD
101.4 lbs.
Lift with 3 people.
(46 kg )
Hitachi Virtual Storage Platform
1
G200
Prepare for
Quick
Quick
Installation
2
3
Power Up
Start
the System
Connect the
Hardware
5
4
Run the Initial
Start
Setup Wizard
7
Complete System
Run the
Setup
Initial Startup
6
Wizard
START
START
Enable Hi-Track
Remote Monitoring System
Power, Fibre Channel,
iSCSI, and SAS
Cables (optional)
3
Power Up
the System
4
Run the
Initial Startup
Wizard
Accessory
Box
Bezel
Storage
System
Software
Applications
Disk Drives
Power
Distribution
Units
Rack
Hitachi Virtual Storage Platform
5
Run the Initial
Setup Wizard
6
Enable Hi-Track
Remote Monitoring System
2. Provide these
items
Management
Console PC
(with NIC)
Additional
Wrist
Cables
Strap
User-Supplied
Rack (if not
ordered from
Hitachi)
Uninterruptible
Power Supply (UPS)
(optional)
G200
Quick
Start
7
Complete System
Setup
START
START
3. Install devices into
the rack
SVP
Switch
Storage
System
Drive Tray
HDS or User-Supplied Rack
Install the service processor (SVP)
at the top of the rack, and the
storage system and drive tray(s)
at the bottom.
Advertisement

Summary of Contents for Hitachi G200
- Page 1 Hitachi Virtual Storage Platform G200 Prepare for Quick Installation Start Power Up the System Connect the Hardware Run the Initial Setup Wizard Complete System Run the Setup Initial Startup Wizard START START Enable Hi-Track Remote Monitoring System Prepare for Installation 3.
-
Page 2: Connect The Hardware
Connect the Hardware 1. Connect expansion ports to drive trays Ports are color-coded for reference. Cables should lock into place. Verify they do not pull out without using the tab. SAS cable POWER LOCATE ALARM POWER LOCATE ALARM CONSOLE CONSOLE Drive Tray AC IN... -
Page 3: Run The Initial Startup Wizard
Yes to continue. DNS Server 1: DNS Server 2: 3. In the Remote Desktop Connection window: DNS Server 3: Click Start > All Programs > Hitachi Device Manager - Storage Navigator. IPv6 Configuration: Enable Disable Right-click Initial Startup and click Run as administrator. -
Page 4: Enable Hi-Track Remote Monitoring System
Complete System Setup 1. Make host connections Con gure the storage system host settings. Refer to the Hitachi Open-Systems Host Attachment Guide and the HDS Product Interopera- bility Documentation at http://www.hds.com/products/interoperability. Follow the instructions in your host, HBA, and NIC vendor documentation for information about host con guration.


