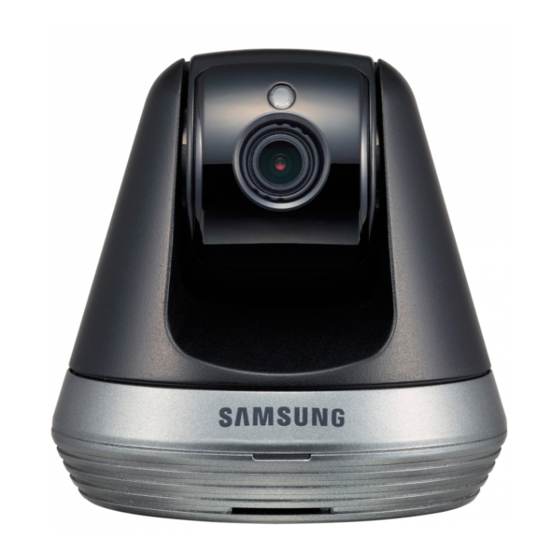
Samsung WISENET SNH-V6410PN Quick Start Manual
Smartcam
Hide thumbs
Also See for WISENET SNH-V6410PN:
- User manual (32 pages) ,
- User manual (31 pages) ,
- Quick start manual (2 pages)
Advertisement
Table of Contents
Advertisement
Table of Contents

Summary of Contents for Samsung WISENET SNH-V6410PN
- Page 1 WISENET SMARTCAM Quick Start Guide...
-
Page 2: What's In The Box
What’s in the box Warranty Card / Quick Start Template Guide Power adapter and cable Camera Screws / Bracket / Plastic anchors Camera Mounting Screw ※ Please do not lose the camera mounting screw when you open the package contents. The camera mounting screw is needed when you mount the camera onto the bracket. -
Page 3: System Requirements
System Requirements Wi-Fi 802.11 b/g/n iOS 8 or higher Windows 7/8 or higher Recommended : 3.5Mbps Android OS 5.0 or higher Mac 10.7 or higher or higher... -
Page 4: Mobile Application
Mobile Application Download the free Wisenet SmartCam app <Android> now available on Google Play and the App Store. <iOS>... -
Page 5: Camera Overview
Camera Overview Power IR LEDs microSD Slot LED Status Indicator Microphone Speaker Reset button Wi-Fi Direct button... - Page 6 Camera setup and registration Open the WiseNet SmartCam app and create an account. Follow the Plug-in the power adapter on-screen instructions to to the wall and connect the register. camera as shown. User ID : ___________________ Save your Account and User Password : _____________ Device information here.
-
Page 7: Mounting The Camera
Mounting the Camera Attach the template to the Insert the camera wall. mounting screw into the bracket hole at the bottom of the bracket and turn it clockwise to assemble it. Drill the holes about 1.2 Insert the anchors inches deep into the wall. completely into the holes. - Page 8 Mounting the Camera <Upright Installation> <Upside down Hang the bracket using the Installation> Hang the screws and lower it to the bracket using the screws direction in which you and lower it to the intend to install. direction in which you intend to install.
- Page 9 LED Status Guide Searching for available Wi-Fi network Booting up Connecting to a Wi-Fi network Booting completed Connected to Wi-Fi Network/ Normal Operation Enabling Wi-Fi Direct Updating firmware...


