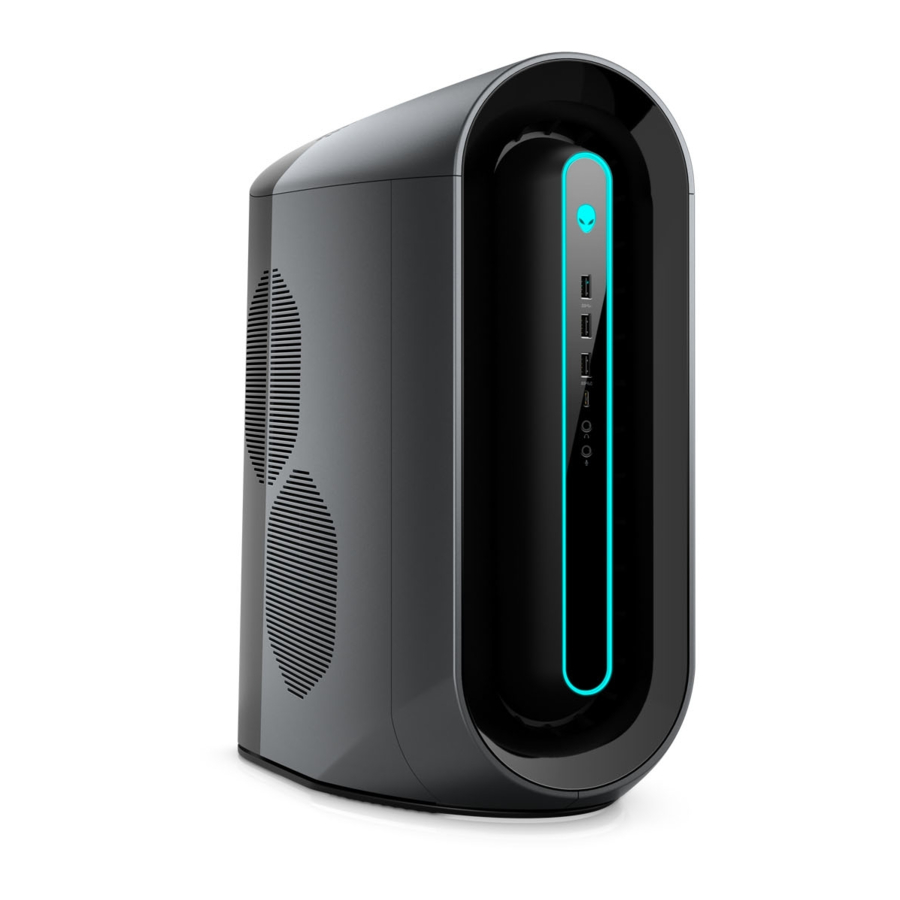
Summary of Contents for Alienware Aurora R11
- Page 1 Alienware Aurora R11 Setup and Specifications Regulatory Model: D23M Regulatory Type: D23M003 September 2020 Rev. A04...
- Page 2 Notes, cautions, and warnings NOTE: A NOTE indicates important information that helps you make better use of your product. CAUTION: A CAUTION indicates either potential damage to hardware or loss of data and tells you how to avoid the problem. WARNING: A WARNING indicates a potential for property damage, personal injury, or death.
-
Page 3: Table Of Contents
Contents Chapter 1: Set up your computer......................4 Chapter 2: Views of Alienware Aurora R11.................... 7 Front...................................... 7 Back.......................................8 Back panel...................................10 Chapter 3: Specifications of Alienware Aurora R11................12 Dimensions and weight...............................12 Processors.................................... 12 Chipset....................................13 Operating system................................13 Memory....................................14 Ports and connectors................................14 Ethernet....................................15... -
Page 4: Chapter 1: Set Up Your Computer
Set up your computer 1. Connect the keyboard and mouse. 2. Connect to your network using a cable, or connect to a wireless network. 3. Connect the display. - Page 5 NOTE: The DisplayPort on the back panel of your computer is covered. Connect the display to the discrete graphics card of your computer. NOTE: If you have two graphics cards, the card installed in PCI-Express X16 (graphics slot 1) is the primary graphics card. 4.
-
Page 7: Chapter 2: Views Of Alienware Aurora R11
Views of Alienware Aurora R11 Front 1. Power button (Alienhead) Press to turn on the computer if it is turned off, in sleep state, or in hibernate state. Press to put the computer in sleep state if it is turned on. -
Page 8: Back
NOTE: Certain USB devices may not charge when the computer is turned off or in sleep state. In such cases, turn on the computer to charge the device. 4. USB 3.2 Gen 1 Type-C port with PowerShare Connect peripherals such as external storage devices and printers. Provides data transfer speeds up to 5 Gbps. - Page 9 For optimal graphics performance, use a PCI-Express X16 slot for connecting the graphics card. NOTE: The PCI-Express X16 slot works at X8 lanes only. NOTE: If you have two graphics cards, the card installed in PCI-Express X16 (graphics slot 1) is the primary graphics card. 3.
-
Page 10: Back Panel
Back panel 1. Coaxial S/PDIF port Connect an amplifier, speakers, or a TV for digital audio output through a coaxial cable. 2. Optical S/PDIF port Connect an amplifier, speakers, or a TV for digital audio output through an optical cable. 3. - Page 11 10. Center/subwoofer LFE surround port Connect the center speaker or the subwoofer. NOTE: For more information about the speaker setup, refer the documentation that shipped with the speakers. 11. Rear L/R surround port Connect audio-output devices such as speakers and amplifiers. In a 5.1 or a 7.1 speaker channel setup, connect the rear-left and rear-right speakers.
-
Page 12: Chapter 3: Specifications Of Alienware Aurora R11
Specifications of Alienware Aurora R11 Dimensions and weight The following table lists the height, width, depth, and weight of your Alienware Aurora R11. Table 1. Dimensions and weight Description Values Height: Front height 441.80 mm (17.39 in.) Rear height 481.60 mm (18.96 in.) Width 222.80 mm (8.77 in.) -
Page 13: Chipset
Generation 125 W 3.70 GHz/4.90 20 MB Intel Core i9-10900KF Chipset The following table lists the details of the chipset supported by your Alienware Aurora R11. Table 3. Chipset Description Values Chipset Intel Z490 Processor Generation Intel Core i5/i7/i9... -
Page 14: Memory
● 16 GB XMP at 3200 MHz ● 32 GB XMP at 3200 MHz ● 64 GB XMP at 3200 MHz Ports and connectors The following table lists the external and internal ports available on your Alienware Aurora R11. Table 5. Ports and connectors Description Values... -
Page 15: Ethernet
NOTE: To learn more about the features of different types of M.2 cards, see the knowledge base article SLN301626. Ethernet The following table lists the wired Ethernet Local Area Network (LAN) specifications of your Alienware Aurora R11. Table 6. Ethernet specifications Description... -
Page 16: Gpu-Discrete
GPU—Discrete The following table lists the specifications of the discrete Graphics Processing Unit (GPU) supported by your Alienware Aurora R11. NOTE: Install AMD Vega 20 only into the PCIe slot 1 of your computer. If installed on PCIe slot 4, the power-supply unit cannot be closed. -
Page 17: Audio
Three DisplayPort and 8 GB GDDR6 2080 Super one HDMI port Audio The following table lists the audio specifications of your Alienware Aurora R11. Table 9. Audio specifications Description Values Audio type Integrated 7.1 channel audio with S/PDIF port Audio controller... -
Page 18: Computer Environment
Table 11. Power ratings (continued) Description Option one Option two Input current (maximum) 14 A Output current (continuous) 5.1 V/20 A, 12 VA1/18 A, 12 VA2/18 A, 5.1 V/20 A, 12VA/42 A, 12VB/52 A, 12 VA1+12 VA2/28 A, 12 VB/16 A, 12 12VD/16 A, 3.3 V/20 A, -12 V/0.5 A, VC1/18 A, 12 VC2/18 A, 12 VC1+12 5.1Vaux/4 A... -
Page 19: Chapter 4: Alienware Command Center
Alienware Command Center Alienware Command Center (AWCC) provides a single interface to customize and enhance the gaming experience. The AWCC dashboard displays most recently played or added games, and provides game-specific information, themes, profiles, and access to computer settings. You can quickly access settings such as game-specific profiles and themes, lighting, macros, and audio that are critical to the gaming experience. -
Page 20: Chapter 5: Getting Help And Contacting Alienware
Getting help and contacting Alienware Self-help resources You can get information and help on Alienware products and services using these online self-help resources: Table 13. Alienware products and online self-help resources Self-help resources Resource location Information about Alienware products and services www.alienware.com...


