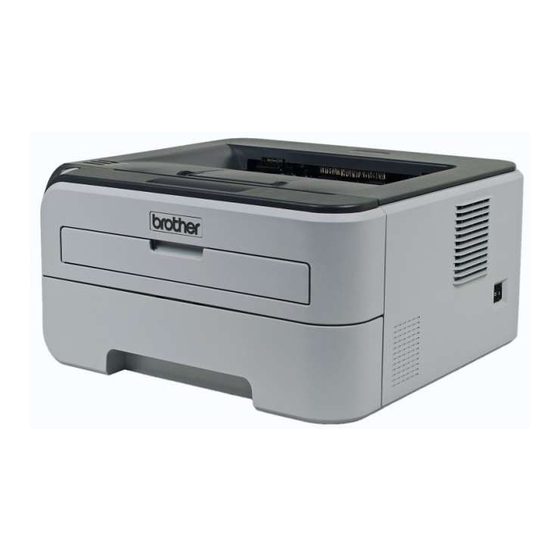
Brother HL-2170W Quick Setup Manual
Brother printer
Hide thumbs
Also See for HL-2170W:
- Network user's manual (137 pages) ,
- Quick setup manual (52 pages) ,
- Specification sheet (2 pages)
Table of Contents
Advertisement
Quick Links
Quick Setup Guide
Brother Printer
Model: HL-2170W
Laser Printer
Before you can use the printer, you must set up the hardware and install the driver.
Please read this 'Quick Setup Guide' for proper set up and installation instructions. Keep
this 'Quick Setup Guide' and the supplied CD-ROM in a convenient place for quick and
easy reference at all times. To view the Quick Setup Guide in other languages, please
visit http://solution.brother.com.
5/22/2013
Advertisement
Table of Contents

Summary of Contents for Brother HL-2170W
-
Page 1: Laser Printer
Quick Setup Guide Brother Printer Model: HL-2170W Laser Printer Before you can use the printer, you must set up the hardware and install the driver. Please read this ‘Quick Setup Guide’ for proper set up and installation instructions. Keep this ‘Quick Setup Guide’ and the supplied CD-ROM in a convenient place for quick and easy reference at all times. -
Page 2: Table Of Contents
Table of Contents Getting Started ..........................2 Carton Components ........................2 USB cable ..........................2 Network cable ......................... 2 Control Panel ..........................3 Printer LED Indications ........................ 4 LED indications when using the one-push wireless setting mode .......... 4 Step 1 – Setting Up the Machine ..................... 5 Installing the drum unit and toner cartridge assembly ............... -
Page 3: Getting Started
Getting Started Carton Components 1. Face-down output tray support flap 1 2. Control panel 3. Manual feed paper guide 4. Manual feed slot 5. Manual feed slot cover 6. Paper tray 7. Front cover 8. Power switch 9. Ventilation hole 10. -
Page 4: Control Panel
Control Panel 1. Toner LED The Toner LED indicates when the toner is low or at the end of its life. 2. Drum LED The Drum LED indicates when the drum is nearing the end of its life. 3. Error LED The Error LED indicates when the printer is in one of the following states: No paper / Paper jam / Cover open 4. -
Page 5: Printer Led Indications
Printer LED Indications 1. The LED will blink in a pattern of ON for 1 second and then OFF for 1 second. 2. The LED will blink in a pattern of ON for 0.5 seconds and then OFF for 0.5 seconds. 3. -
Page 6: Step 1 - Setting Up The Machine
Step 1 – Setting Up the Machine Installing the drum unit and toner cartridge assembly 1. Open the front cover 2. Unpack the drum unit and toner cartridge assembly 3. Rock it from side to side several times to distribute the toner evenly the assembly 4. -
Page 7: Step 2 - Installing The Printer Driver
Step 2 - Installing the Printer Driver For USB interface cable users 1. Turn on the printer power switch 2. Interface cable connect to the printer and put the supplied CD into CD-ROM 3. Install Printer Driver and click USB cable users 4. -
Page 8: For Wired Network Interface Cable Users
For wired network interface cable users Peer-to-Peer network printer users Router Network Printer 1. Connect the network interface cable to the printer and connect it to free port on the router hub 2. Make sure the printer power is on 3. -
Page 9: For Wireless Network Users
For Wireless network users 1. Make sure the printer power is on 2. Interface cable connect to the printer and put the supplied CD into CD-ROM Install Printer Driver and click Wireless Network users 4. It is automatically installation and Make sure your printer power on. At the end click Finish... -
Page 10: For Network Users
For Network Users Network default settings To restore all network settings of the internal print server to default, follow the steps below. 1. Turn off the printer. 2. Make sure that the front cover is closed and the power cord is plugged in. 3. -
Page 11: Repacking Information
Repacking Information Shipment of the printer If for any reason you must ship your printer, carefully package the printer to avoid any damage during transit. We recommend that you save and use the original packaging. The printer should also be adequately insured with the carrier. - Page 12 © Design by ZhiFei.Zhao...


