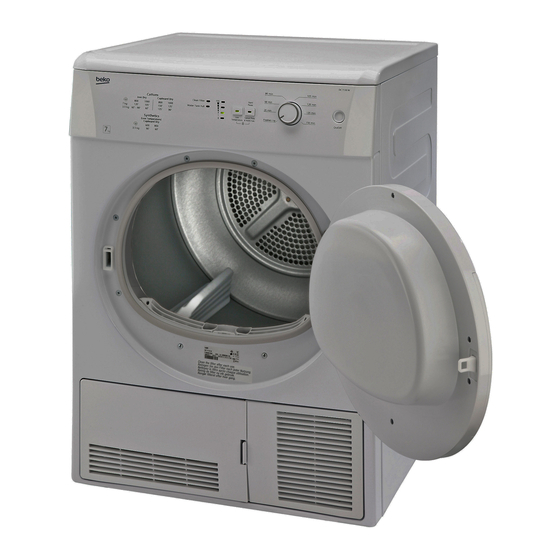
Beko DC 7110 User Manual
Hide thumbs
Also See for DC 7110:
- Installation and operating instructions manual (24 pages) ,
- User manual (73 pages) ,
- User manual (81 pages)
Table of Contents
Advertisement
Quick Links
Advertisement
Table of Contents

Summary of Contents for Beko DC 7110
- Page 1 Dryer DC 7110...
- Page 2 Read this manual prior to initial operation of the product! Dear Customer, We hope that your product, which has been manufactured in modern facilities and passed through a strict quality control procedure, will give you very good results. We advise you to read through this manual carefully before using your product and keep it for future reference.
-
Page 3: Important Safety Information
Important safety information This section includes safety information that will that are contaminated or spotted with such help protection from risks of personal injuries materials should not be dried in the product or materialistic damages. Failure to follow since they emit flammable or explosive vapor. these instructions shall cause any warranty and •... -
Page 4: Intended Use
disconnect by unplugging from the mains Children’s safety before cleaning. • Electrical appliances are dangerous for • Never touch the plug with wet hands. Never the children. Keep children away from the unplug by pulling on the cable, always machine when it is operating. Do not let pull out by grabbing the plug only. -
Page 5: Appropriate Installation Location
Installation Refer to the nearest Authorised Service Agent for installation of your product. Preparation of location and electrical installation for the product is under customer’s responsibility. Installation and electrical connections must be carried out by a qualified personnel. Prior to installation, visually check if the product has any defects on it. -
Page 6: Electrical Connection
accordance with recycled waste instructions. Do not dispose of them with normal domestic waste. Transportation of the machine 1. Unplug the machine from the mains. 2. Remove the water drain (if any) and chimney connections. 3. Drain water remained in the machine completely before transportation. -
Page 7: Technical Specification
Technical Specification Height (adjustable) 84.6 cm Width 59.5 cm Depth 53 cm Capacity (max.) 7 kg Weight (net) 35 kg Voltage Rated power input See type label Model code Type label is located behind the loading door. 7 EN... -
Page 8: Initial Preparations For Drying
Initial preparations for drying Things to be done for energy saving: A B C • Make sure that you operate the product at its full capacity but pay attention to not exceeding it. • Spin your laundry at the highest speed possible when washing them. -
Page 9: Preparing Laundry For Drying
turpentine, paraffin and paraffin removers degrade when the machine is overloaded. must be washed in hot water with plenty of Furthermore, your dryer and your laundry detergent before being dried in the dryer. can be damaged. • Garments or pillows bolstered with rubber Place your laundry into the drum loosely so foam (latex foam), shower bonnets, water that they will not get tangled. -
Page 10: Control Panel
Selecting a Programme and Operating Your Machine Control panel 1. Filter cleaning warning light 4. On/Off button Warning light turns on when the filter is full. Used to turn on and off the machine. 2. Program follow-up indicator 5. Programme selection knob Used to follow-up the progress of the current Used to select a programme. -
Page 11: Preparing The Machine
Preparing the machine 1. Plug in your machine. 2. Place the laundry in the machine. 3. Press the “On/Off” button. Pressing the “On/Off” button does not necessarily mean that the programme has started. Press “Start/Pause/Cancel” button of the machine to start the programme. Timer program selection Decide the appropriate time from the table below which includes drying temperature in... -
Page 12: Program Selection And Consumption Table
Program selection and consumption table Program table Approximate Spin speed in washing amount of Drying time Programs Capacity (kg) machine (rpm) remaining (minutes) humidity Cottons / Coloreds 1000 % 60 % 70 Ready to Wear 1000 % 60 % 70 1000 % 60 % 70... -
Page 13: Childproof Lock
Auxiliary function Adding/removing laundry in standby Low temperature mode This function allows for drying at lower In order to add or take out laundry after the temperatures and therefore saves energy. start-up of the program; Warning LED will light up when you select the function. -
Page 14: End Of Program
“0” warning LED on the program follow-up indicator will light up at the end of this period for reminding purposes. As the inside of the machine will be excessively hot when you cancel the program while the machine is running, activate the ventilation program to cool it down. -
Page 15: Maintenance And Cleaning
Maintenance and cleaning *To drain the water tank: Filter Cartridge / Door Inner Surface 1-Carefully remove the water tank by opening Lint and fibres released from the laundry to the the kick plate cover/pulling the drawer. air during the drying cycle are collected in the “Filter Cartridge”. - Page 16 2. Unlock the 2 condenser locks after opening 5. Place the condenser in its housing. Fasten the kick plate. the 2 locks and make sure that they are seated securely. 3. Pull out the condenser. 6. Close the kick plate cover. 4.
-
Page 17: Suggested Solutions For Problems
Suggested solutions for problems Drying process takes too much time • Meshes of the filter may be clogged. Wash with water Laundry comes out wet at the end of drying. • Meshes of the filter may be clogged. Wash with water. •...


